Thursday 30 January 2014

Final Renders


Apart from the face and hair, this model was a complete success, i didnt think id actually get all these things done, the glass, the lights, the uv wrapping, even the water! very happy with this projects outcome, however time management was a serious issue, i shouldve allowed far more time for modelling. 
I figured UV Wrapping would be time consuming yet modelling things such as the hair and face, were not accounted for. 
This character definitely envokes memories to me, and from feedback from peers and others, it envokes some memories in them also. so in the end i suppose this incomplete project was a success...next time though, project planning will need to be sorted efficiently. 
Though it may never be sold in Austins im glad our class did this project, its definitely interesting to not only see your own memories visually protrayed for everyone to look at, but its also interesting to see others memories of Derry and how they protray them.

Well thats that project over and done with. but dont worry, theres plenty more rambling where that came from, after all semester two is just beginning, as is more 3D classes. 
And this semester we'll be getting those old rigid objects to move and come to life..... so keep up.


UV Wrapping.

The simplest way to i found to UV Wrap in 20 steps.

1 select object

2 modify panel

3 scroll and select unwrap UVW

4 click on the polygon option

5 open UV Editor

6 select everything (ctrl a)

7 mapping>flatten mapping>ok, then save it in the same folder as the model other wise youre in for a heap of trouble

(save by clicking the render option, make sure its on solid, and then click the save button)

8 open in photoshop

9 probably bets to have two screens (i used y laptop and the uni computer, rather than having 3DMax and photoshop open togther, trust me, you want two screens)

10 on the screen youre using as 3DMax reference, click on the face you want to paint

11 now find the corresponding screen on the model

12  now go back to photoshop and paint that face etc

13 after you are finished, save it in the same folder

14 go back to the UV map

15 go to the checkered box in the top right, scroll down 

16 pick texture

17 go to the material editor

18 select a new ball

19 maps >defuse colour, bitmap

20 pick the map youve just created in photoshop

21 click show in viewport

22 drag it on the object annnnnnnd thats it. 
well thats the general gist of it.

This is my first UV mapped item ever, all on my own, no help. so proud of that little simple box. 
Its the start of a whole new 3D Max experience. 

The 212 sign came n upside down but i rotated it to suit.

Thi is what it looks like when you are rendering out the UV map

Im very happy with how the finishing touches are pulling the model together and actually making the design come to life. getting from a to b in a project like this is no easy task, and its a brilliant moment when you can see things coming together.

getting out the ole material editor

Something i noticed during feedback was.... i wasnt quite done modelling like i thought. the railings! id completely forgotten about the railings around the figurines peace bridge shoes and the river below.

This glass i created the same way i created veepees glass, however, i tweaked it slightly more to suit this figurine. However im sure if 3D Max had been so kind enough to remember my original Veepees glass i probably wouldnt have recreated it then tweaked it. i like this glass, it appears thicker and sturdier.

The cannon was the first of the objects to be given a material or texture. I placed a bitmap of a first hand image of the walls cannons, however it didnt turn out the way id expected, it wasnt vivid enough, and after some messing about with material editor i eventually settled on a simple matt metal.

i dont like how you can see the separate hands and fingers, and even feet with the figurines glass. This is definitely an incentive to create whole objcts/figures in 3D Max in future.

The water i tried to create in every which way there possibly is in 3D Max.
In the end the best result is actually a rather simple method. Using a mental ray rendering, under architecture section in material editor, theres loads of sample textured materials. Its probably not the desired way to create something, but the result was far closer to my design than any other way i tired it. 
With very little tweaking i was able to get this murky rippled water. 
Which is without a doubt my favorite aspect of the model. It really brings the whole thing together.


Once i had the water finished to the way i wanted i noticed the base no longer suited, so i changed the material, then began experimenting slightly. From which i found a very odd way of turbosmoothing the base by polygons, giving the base a brick wall effect. really suiting the objects on the skirt. i always felt there was something missing from the base and it didnt really suit the figurine but she couldnt just stand on nothing. im very happy i tweaked the base to this extent.

Amoung the architecture samples, i found many that suited the stone and brick walls on the skirt, with minor tweaks they were spot on the desired outcome.
With all he materials and textures from scratch i never wouldve gotten the bricks to look the way i wanted perfectly. this completely changes my view on 3D Max and i just want to get dug into it sometime without a mandatory project, just to see the possibilities. 
To all those of you new to 3D Max (or relatively new) i suggest taking the time to really experimenting with it before actually creating anything, itll definitely make things alot simpler. 


Problems with using things you found whilst experimenting is, you wont know what to do when things go wrong, or you wot know whats wrong when it renders out. 
Thought the renders worked fine, i got plenty of warnings every now and then. likely simply fixed with the checking of a box, but its the not knowing what youre dealing with that gets you in these situations. 

The glow was simplier ow that i knew how to crate it. the glass didnt get any easier, but its a longer process. the glow, i discovered in brief one, the veepees project. getting to different coloured glows was a bit more complicated but well worth it in the end. 
One of my favourite aspects of 3D Max, it always pushes you further and further, just when you think youre getting the hang of something it gives you a bigger task. like i was pushed to create a simple glow n the last project, and now two different glows, on many objects. its the constant challenges that keep it interesting.

Creating the small but noticeable green purple and pale yellow light under the peace bridge shoes, was not a simple task, especially when adding any lights to the scene reminds 3D Max it should be pitch black in an environment with no actual light. Lighting is such a basic step and yet even now i cant  say its simple.

Feedback renders


Below are a few renders with a simple environment for appearance sake. 
Feed back went ell but my peers were in agreement with me, im seriously behind considering how close the deadline is, and how much i still have to do with uv wrapping. 
Otherwise the model seems to be what i had intended to create. I was however told to rethink not including the foyle river. there was mixed reactions to this, many thought it was just what the model needed where as others were trying to think logically and realized the water may take up too much of my time. i believe i dont have enough time, but i will still strive to create the water, as it think it will really bring the whole figurine together in the end and be the finishing touch. 


front 

intimidating statue angle

statue angle

front

side

back

close up

side

Feedback time.

Modelling finished.... now time for the hard part. 

Starting and positioning the base! 

One of the many horrible attempts at creating water. this was a plane, with the water tool, but it was too small to create water properly.

At this point it was time to show what if done so far, so i added a quick marble like material/texture to the figurine (excluding the base, which was red wood) I added these colours incase the many colours of all the objects etc were too confusing/overwhelming during feedback. 
So far im quite happy with my progress.

Object time.


The heart attack of all heart attacks.
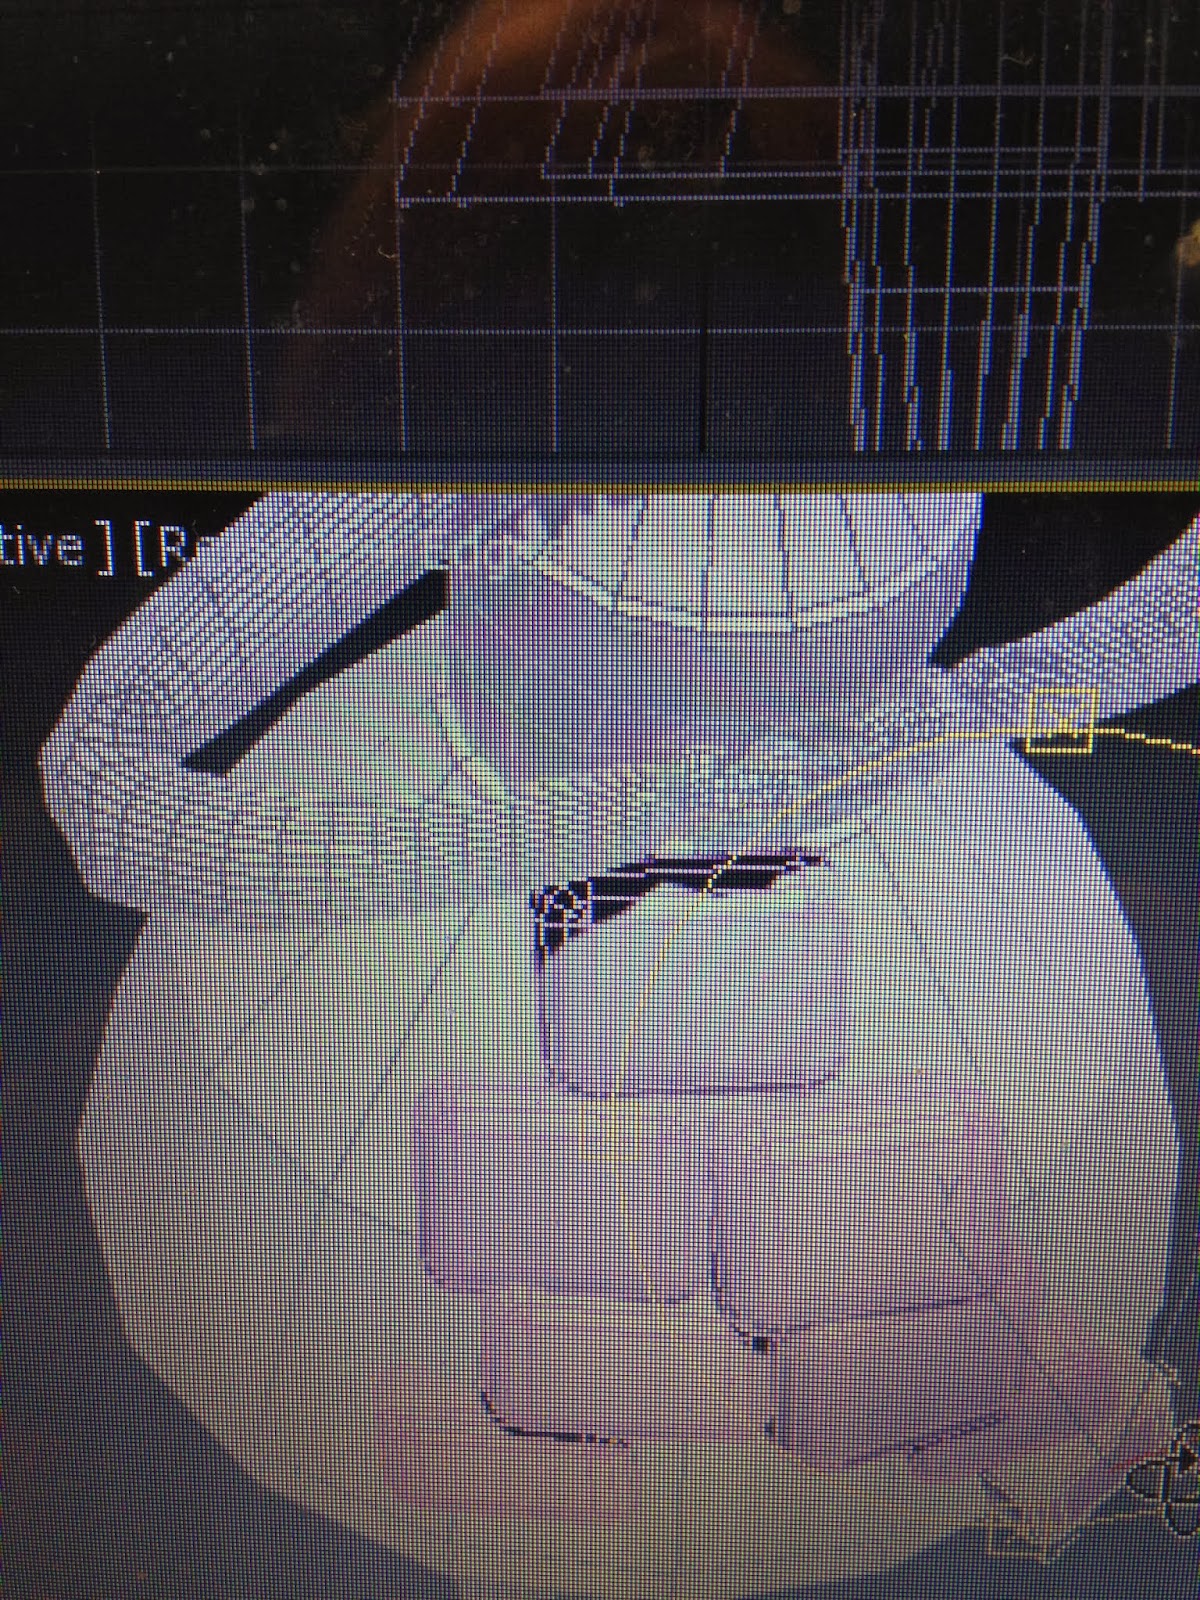
This right here folks is why every tells you to constantly save your work. if ever there was a programme to crash every ten minutes, it would be 3D Max.
Worst part about it, its usually just when you havent saved it in a seriously long time, or youve just finished something that took you forever.... like the hair. 
Crashes happen, but this one right here, happened to happen just as i was putting the final touches on a full head of hair.... took me a while to retrace my steps on how theres an autosave on 3D Max if you move quick enough, however my 3D Max is special... i didnt lose ten minutes or even twenty, i lost over half an hours work.... which of course meant when re doing it, it took me even longer.
However it couldve been worse, i couldve lost everything. So i tip my hat to Auto-recovery.


Object time!
Well now we have the foundations of the figurine, its not time to collage it up with alot of meaningful trivial Derry-LondonDerry objects. 
Starting with what i presumed would be the easiest. wasnt tht hardest, but it sure wasnt the easiest. 
The walls. more specifically, the blocks that make up the walls of Derry. 
Derry-LondonDerry really is full of scenic walls.... be it the actual walls from the walled city, or the university walls, or the walls along th side of the road that dont even  serve much purpose, either way, theres alot of lovely old stone/brick/rocky walls to pick and chose from. 
The walls i created giving the heavy duty, but jumbled effect, i didnt want them perfect, its suppose to represent the old historical walls that mean something to just about everyone in Derry, good or bad. Im really happy with how they turned out, better than id anticipated considering its squares on a round dress. 

The road signs were a major asset on the skirt, however there placement was rather tricky, i wanted them rounding the skirt, but not unsign like.... which isnt an easy task. 
It took alot of maneuvering but i think i succeeded in the end. 

The City of Cultue sign was a big memory, after all my year here, has been through out Derrys city of culture year. a masive milestone. however i didnt want this poster looking like a rigid billboard, i wanted it to look like the posters around the city, promoting events throughout the city. to make this portrait poster look more flexible, i bent one of the corners, as if it were flimsy paper. an old poster, promoting an old event. after all the city of culture year has just now ended here in Derry.

 The upkeep of such a city, especially one just coming into its own now like Derry, requires alot of modifications and fixing.... so road works are inevitable. there always seems to be road works going on somewhere in the city, currently right outside my house, So this roadworks sign was a cheeky but very valid object to include int the memories of Derry. and it also represents Derry is a city getting better and better.

More bricks.... if i thought the big blocks were difficult to create and position, i was wrong, it was nothing compared to the messy stone walls, based mainly on the Northland road walls.
they had to be thin short and sharp like little layered slabs, but they couldnt look like a ton of needles. This was difficult but i think they look perfect in the end. i tried recreating this again and again but it didnt look right, so i just cloned the correct one and positioned it to not look like they are all the same object. 

Looks like its getting somewhere now. 
The cannon was a simple cylinder, with its edges moved about, and a smaller cylinder booleaned out of the original, it doest loo like much now, but it will hopefully look more cannon like when the texturing and materials are brought in. 

The Christmas lights are all the same object, after all the bulbs were always the same shape and size, just positioned differently. 


As you can see, ALOT of bulbs were required to make it look like i had originally intended, i didnt want to overwhelm the figurine with lights though incase the attention was taken away from other object...however i couldnt go any less than what i used, otherwise it wouldnt look like bunches of xmas lights.
Im very excited to see what they will look like when i add materials and even glows to them all.